
Painting a Minnesota Basement Starts With Moisture Control
A dry wall is the real prerequisite for a basement paint job that lasts — here's how to check for one before you pick a color.
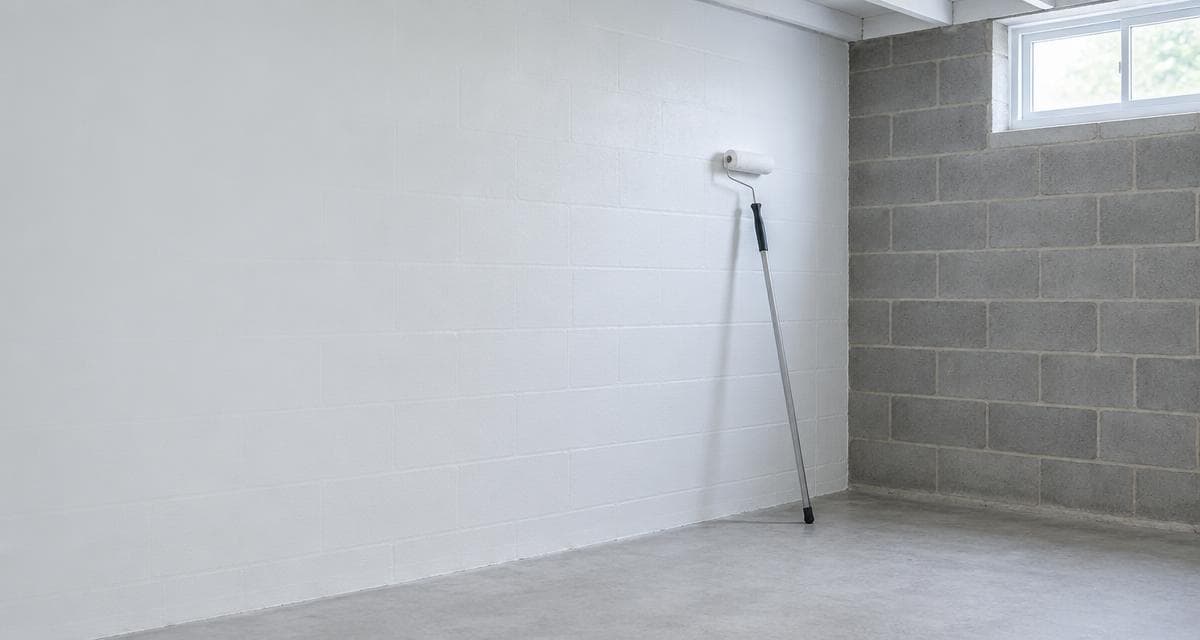
A basement is often the last space in a Minnesota home to get painted, and the first one where the paint fails. Homeowners across Mora, Pine City, Cambridge, and Elk River finish a lower level, roll on two solid coats, then watch the finish blister along the foundation wall a few months later. The color was never the problem. Moisture was. Before you pick a shade, the wall has to be dry, and knowing how to confirm that is the difference between a basement that still looks sharp years from now and one that has to be redone.
Why Minnesota Basements Are Harder to Paint Than the Rest of the House
Every other room in your home sits above grade, surrounded by conditioned air. A basement does not. Foundation walls are in direct contact with soil, and concrete and block are porous. Groundwater is drawn up through those pores, and water vapor passes straight through the wall from the damp side to the dry side. That movement never fully stops, which is why a dehumidifier alone often fails to solve the problem.
Our climate pushes from both directions. In summer, warm humid air meets a cool foundation wall and condenses. In spring, snowmelt and saturated soil press water against the outside of the foundation. Add a downspout discharging next to the house and the wall is fighting water on several fronts at once. This matters more than it used to. As the University of Minnesota Extension points out, most Minnesota basements are connected to the rest of the house through ductwork and other openings, and they are increasingly used as finished living and sleeping space. A moisture problem downstairs is no longer confined downstairs.
What Happens When You Paint Over a Moisture Problem
Paint is a film. When moisture moves out through a wall and hits that film, it has nowhere to go, so it pushes. The results are predictable, and they are not cosmetic.
- Blistering and peeling, usually starting low on the wall and spreading upward.
- Efflorescence, the white chalky deposit left as water carries salts out of the masonry and lifts the coating off.
- Mold growing behind the paint film, hidden until the smell gives it away.
The U.S. Environmental Protection Agency is blunt on this point: the key to mold control is moisture control, and cleaning up mold without fixing the water problem means it comes back. Painting a damp wall does the same, except it also hides the evidence. Extension guidance goes further, warning that finishing or painting a basement without solving the underlying moisture can worsen mold growth and cause structural damage.
How to Tell Whether Your Basement Walls Are Ready for Paint
Read the wall before you buy anything
Most warning signs are visible if you know what to look for. Walk the perimeter with a flashlight and check for these.
- White, powdery or crystalline deposits on concrete or block.
- Dark patches or tide lines near the base of the wall.
- Existing paint that is bubbling, flaking, or lifting at the edges.
- A persistent musty odor, especially noticeable when you first come down the stairs.
- Rust on fasteners or shelving brackets, and condensation on cold water pipes during humid weather.
Run a plastic sheet test
This is the simplest diagnostic there is and it costs almost nothing. Tape a square of clear plastic sheeting tightly to the bare wall, sealing all four edges, then check which side is wet. Moisture trapped between the plastic and the wall means water is migrating through the foundation. Moisture on the room-facing side means humid indoor air is condensing on a cold surface. Two different problems, two different fixes.
Know your humidity numbers
An inexpensive hygrometer tells you more about your basement than any paint chip will. The Minnesota Department of Health recommends keeping indoor relative humidity between 20 and 40 percent in winter and below 60 percent the rest of the year. If your basement sits well above that, the air is the problem, not the wall.
Fix the Water Before You Fix the Wall
Most basement moisture starts outside the house, which means the cheapest fixes are usually the ones done with a shovel and a ladder.
- Extend downspouts well away from the foundation instead of discharging at the wall.
- Regrade soil so it slopes away from the house rather than toward it.
- Clear and cover window wells, and keep gutters from sheeting water down the side of the home.
Inside, the goal is to stop adding moisture to the air and keep surfaces from getting cold enough to sweat. Run a dehumidifier, vent bathroom and laundry exhaust outdoors, and insulate cold water pipes that drip onto framing and flooring.
If you have active seepage, standing water after a rain, or cracks that weep under pressure, stop. That is a drainage or foundation issue and it needs a specialist before any coating goes on. Masonry paint is a finish, not a waterproofing system, and treating it as one is how homeowners pay for the same wall twice.
Choosing the Right Coating Once the Wall Is Dry
Bare concrete and block are highly alkaline, and standard interior primers are not built to handle that chemistry. What you want is a masonry primer and sealer formulated to tolerate high pH and to condition a porous surface, such as Loxon Concrete & Masonry Primer/Sealer. We use Sherwin-Williams coatings exclusively, and below-grade masonry is where the higher-specification product earns its place.
Sheen matters more down here than most homeowners expect. Flatter finishes hide block texture and the patching that comes with an older foundation, while eggshell or satin stands up better to wiping in a space that doubles as storage or a playroom. The same reasoning we apply to choosing a finish for high-moisture rooms like bathrooms applies here. Mildew-resistant topcoats are worth specifying in any lower level, finished or not.
Do Not Overlook the Ceiling and the Woodwork
A basement repaint rarely stops at the walls. Exposed joists, ductwork, and pipes can be sprayed one dark color to visually disappear, and a drywalled ceiling changes how bright the space feels. Our ceiling painting service covers both, and the decision usually comes down to headroom and how the room will be used.
One caution for older homes, and East Central Minnesota has plenty of them. If your house was built before 1978, lead-based paint may be present on basement woodwork, stair stringers, and previously coated walls. Do not sand or scrape those surfaces on assumption. Have them tested first.
Getting the Space Ready
Basements collect years of storage against the very walls that need attention, so prep starts with clearing a working perimeter. Our interior painting preparation checklist covers the rest of what happens before, during, and after a project.
Talk to a Contractor Who Checks the Wall First
Any painter can put color on a basement wall. The question worth asking is whether they checked it first. When we quote interior painting in a lower level, we inspect for efflorescence, staining, and moisture patterns first, and we will tell you plainly if drainage needs attention before any coating goes on. Recommending paint over a wet wall would not be honest work, and it would not last. If you are planning a basement refresh in East Central Minnesota or the Twin Cities, reach out and we will look at what the wall is telling us.
Trinity Painting & Renewal
Contact Number: (763) 200-4121
Email: dustin@trinitypaintingmn.com
Address: 403 Cardinal Street, Mora, MN 55051
Serving Mora, Pine City, Cambridge, Princeton, North Branch, Elk River, and the Twin Cities metro.
Ready to Schedule Your Basement Project?
Get a free, detailed estimate for your basement painting project, with no surprises along the way.